Using gSender with Ethernet
- Nov 5, 2025
- 3 min read
Ethernet is a great way to communicate with your grblHAL based system. It is reliable and highly resistant to EMI. In the past, though, it has been difficult to set up to use with a CNC system. With grblHAL, a number of boards supporting Ethernet have become available and now a number of GCode Senders work well with Ethernet. We have covered using ioSender with Ethernet. This blog talks about how to use gSender, a very popular GCode sender, from Scienci Labs with it.
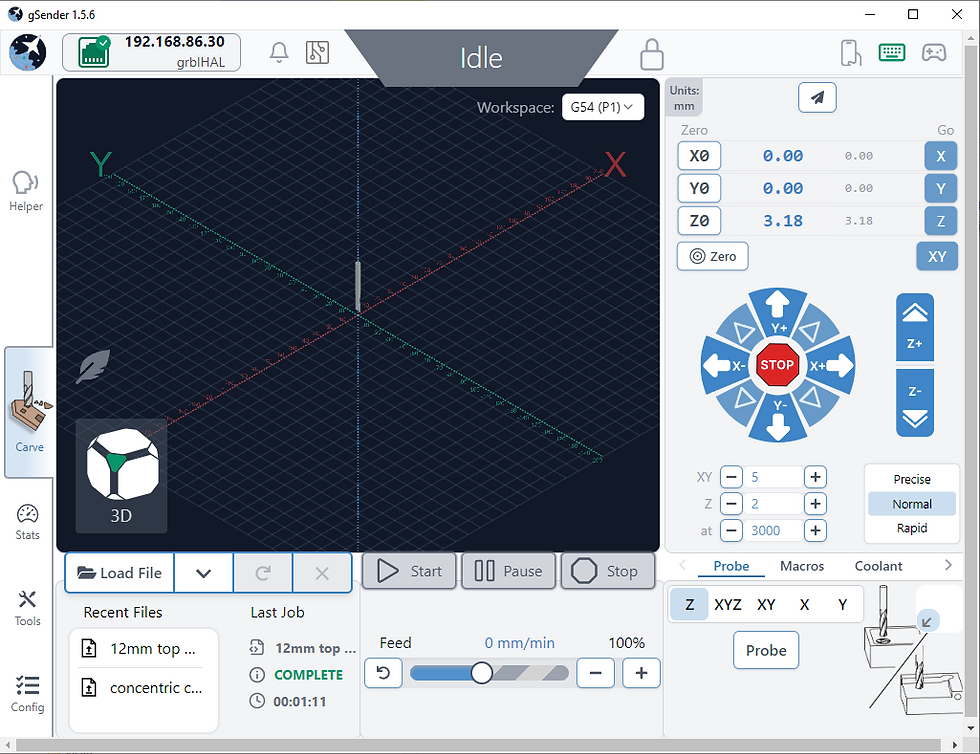
First, you need to have an Ethernet enabled board such as our T41U5XBB or RP23U5XBB, each with the optional Ethernet kit. Next, you will need gSender installed. You can download it for free from Scienci Labs. Installation is straightforward. When you run gSender with your grblHAL board connected to your PC via USB, it should find your board. However, it did not find my Teensy based system so I had to manually connect to it. Click on the Connect to CNC button and then Unrecognized Ports. You will see several com options. My board was on COM3 and it connected correctly. You will notice that it already has an Ethernet connection option but, unfortunately, this will not connect to our board without some work. More on this in just a bit.

Interestingly, the default Ethernet IP address in gSender is the same as grblHAL's default ip address but that will only work if you directly connect the Ethernet cable between your PC and the CNC controller. It also needs some Windows configuration. We will cover that in a bit but first let's talk about using an Ethernet switch or router for Ethernet using dynamic IP assignment (DHCP).
Dynamic IP Address (DHCP)
Make sure your grblHAL board is connected by an Ethernet cable to your network. By default, grblHAL, uses DHCP for Ethernet. Check to see if the Ethernet port on the board is flickering - that means it has connected to the network. You will need to find the dynamic IP address that it has acquired. Connect gSender to your board via USB and look at the console screen in the lower right corner. You may need to click on the Console tab to see the output from grblHAL. If Ethernet is active, you should see a line with [IP:xxx.xxx.xxx.xxx] where x is a digit. You may need to scroll down to find it. Write the number down (or highlight/copy it). We will need it in the next step.

In gSender, open the Config panel (tab is on the left side) and select the Ethernet section. The first part of it lists the IP address. The default is 192.168.5.1. Replace that with the IP address you got in the previous step. Make sure that the IP Mode is set to DHCP and click on Apply Settings. Now disconnect gSender from your board (click on the COM button, top left). When you mouse over the same button, it should show the IP address you entered as an Ethernet option. Click on it and you should be connected.

Static IP Address
While connecting via DHCP is easy, a number of people worry that it is not secure as the CNC controller can be seen on your network (and potentially on the Internet). They are also concerned that it has to share the network with other applications. While I have no problem using DHCP, if you are concerned about those issues or do not have a convenient network connection available, a Static connect is a good way to go. You connect an Ethernet Port on your PC to the grblHAL board via an Ethernet cable. You will need to set up the Ethernet connection on your PC. That is specific to your version of Windows. Instead of covering it here, refer to this blog post for details. Ignore the ioSender sections and return here once you have "pinged" the static IP address successfully.
Note: if possible, use the default grblHAL IP Address - 192.168.5.1. However, if your PC network is using a local Class C subnet 192.168.5.xxx then you will need to select a different subnet. This is covered in the above blog post.
Now, go back to the Ethernet section of Config. Make sure the the IP address in the first part is the same as your static IP address. Also, change the IP Mode to Static. Then click Apply Settings. You now will need to reboot your grblHAL board (power cycle it). Then, mouse over the Connect to CNC button in gSender and you should see your Ethernet IP Address as a connection option. Click on it and you should now be running over your direct Ethernet connection.
About Me.

I'm Phil Barrett, a long time CNC enthusiast. I run a small company, Brookwood Design, that makes several breakout boards for grblHAL and love to help people get the most out of their CNC machines.


The step-by-step on finding the dynamic IP address through the console and then manually entering it into the config panel is exactly the kind of detail that saves hours of frustration. Speaking of frustrating technical issues, when my home internet went down last week in the middle of a project, I had to call the att phone number to get back online, and they walked me through resetting my router surprisingly fast. Whether it's CNC networking or just everyday wifi, having clear instructions or a reliable helpline makes all the difference.
Thanks for an awesome set of resources for grblHAL!
Have a look at the following for a simple network console using web sockets that interfaces with grblHAL:
https://github.com/jimk3038/grblConsole
I wrote this today with a bunch of help from ChatGPT. It's super simple but super handy. I don't think there is anything like this that is so simple and changeable. Hope it helps someone.
Anyway, thanks again,
Jim